By Adrian | October 2, 2018
I am going through a learning curve with AWS, so what better way to get into it than by standing up a new blog using Lightsail.
The setup was very straightforward. Login to the AWS console and select Lightsail. Select “Create instance”
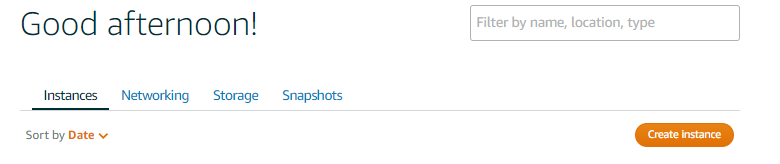 The AWS Lightsail console
Specify the instance location, platform and blueprint to use
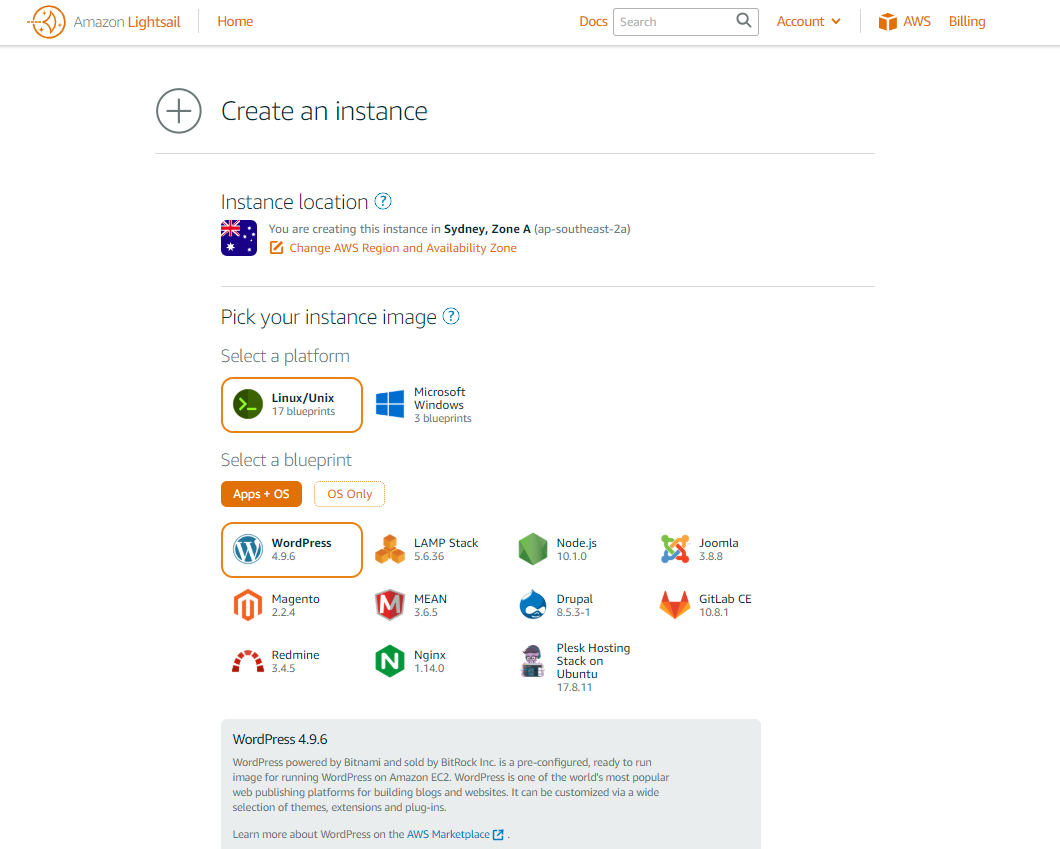 Follow the bouncing ball through the wizard
Select the instance plan and give it a meaningful name. As im expecting little traffic at this time, the lowest tier plan will do the job.
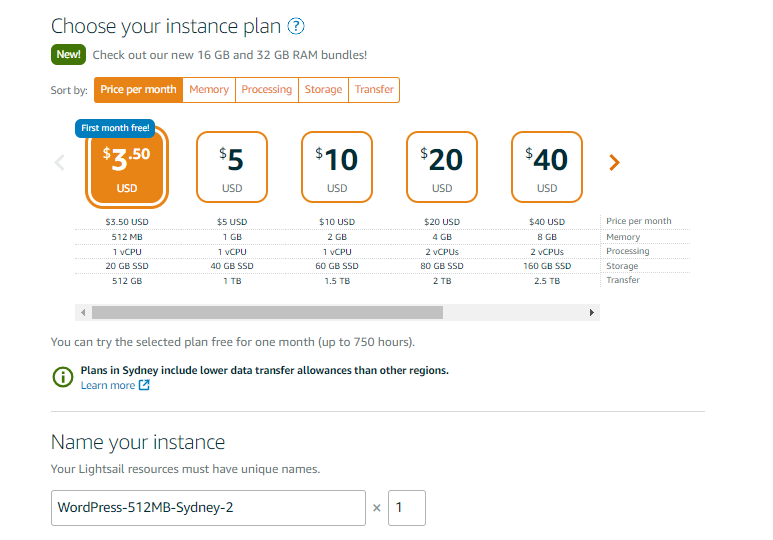
Look - first month free to suck you in ;) But I think i’m good for the $3.50USD a month.
Back on the home page, select “Networking, Create Static IP”
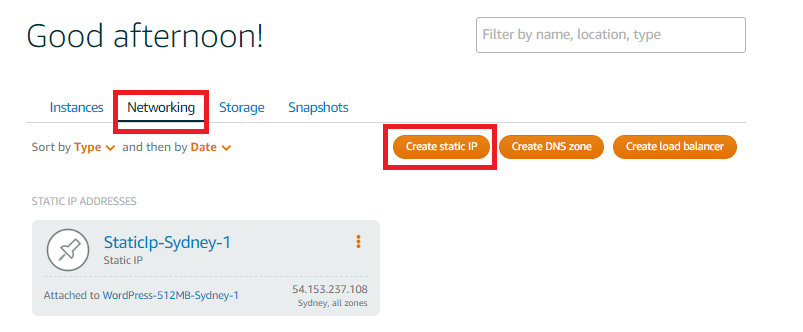 Adding a static IP address
Voilia. The Wordpress is complete. The Lightsail quickstart guide can walk you through some of the additional administration steps such as connecting to your instance via SSH and logging into the administration page.
https://lightsail.aws.amazon.com/ls/docs/en/articles/amazon-lightsail-quick-start-guide-wordpress
For now im going to go domainless, until I can figure out a good domain name to use. So i’d expect the next blog article to be about the AWS Route53 service, associating the domain and integrating SSL to the site.