By Adrian | January 30, 2019
Now that I’ve established the blog, I would like to proof of concept a Continuous Integration, Continuous Deployment (CI-CD) pipeline for it. Its something that I know I will be able to utilise in the future and its a valuable skill to be across given that my line of work does include automation and scripting for both personal and professional reasons.
Having the code stored in a git repository is the first step to this. It will allow me to have a backup copy of the site and also track changes. Should I not be connected to my developer PC, I can simply use git to clone the repository and continue working. While I will need to figure out the “CD” part of the equation, I’m certain there are write ups about this and it gives me a chance to play around with more AWS services. Another blog entry right there ;-)
Firstly create an account with your repository of choice. For example Azure Dev Ops or Github will do the trick, but there are plenty of other free and paid for git repository providers out there. AWS have a service called CodeCommit but there is a monthly fee attached to this service. Seeing as I only require a git repository and not anything more I went with Private Github Repo (these used to be a pay for service up until recently.)
After the repository has been setup, I need to configure my developer PC. Having git installed is a pre-requisite for the rest of the steps and I currently use Visual Studio Code as my IDE of choice which has a tonne of integration with git already.
In the folder where the “public” part of the site is being housed run the following command
# Initialise the repository
git init
# Add the current files into the local staging area
git add .
# Confirm the files are in the staging area
git status
# Commit the added files with a message
git commit -m "Initial Commit"
# Add in the remote repository
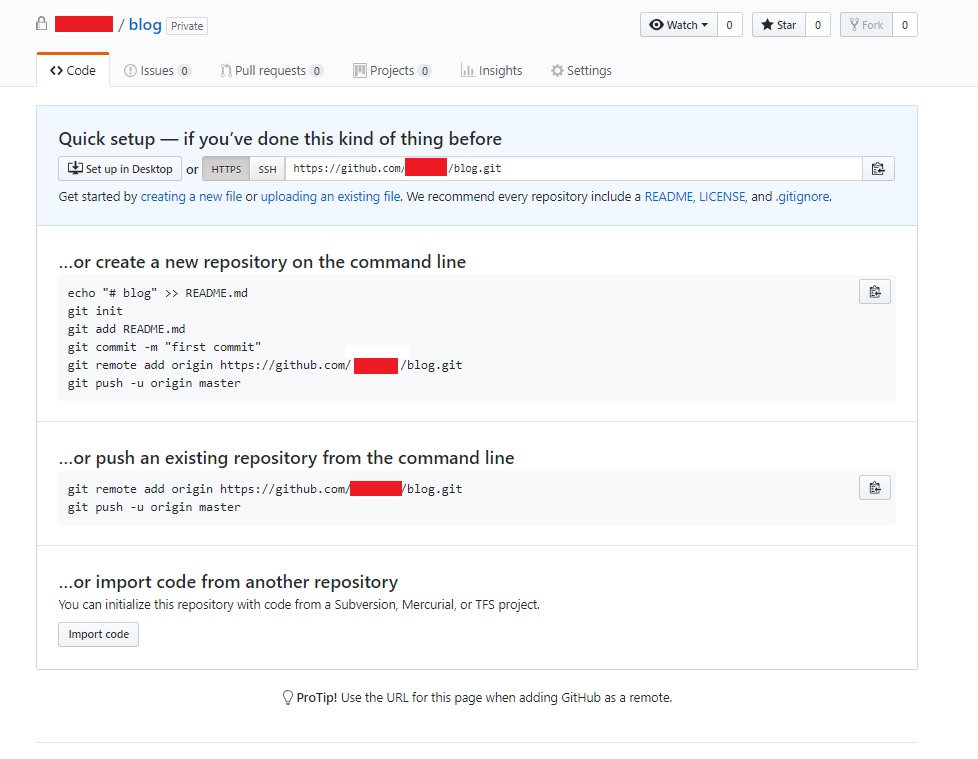
git remote add origin https://github.com/<your-github-acct>/blog.git
# Confirm the remote repository has been set
git remote -v
# Push the files to the remote repository
git push origin master
Now when Hugo rebuilds the static website the “Public” folder will be rewritten and we can use the git lifecycle to keep the backup up to date. This can be included in our Hugo build script.
git add .
git commit -m "Autoupdate"
git push
And from now on I can simply use the git add -> git commit -> git push cycle.