By Adrian | February 13, 2019
Recently I was made aware of a GitHub project by Chris Long named “Detection Lab” which allows blue teams to see what a particular piece of malware does in an environment and conversely allows the red team to see what breadcrumbs their software may leave behind. Its a 4 lab server consisting of:
- Microsoft Windows AD Server
- Splunk Logging
- A Windows Event Forwarding Server
- Client Win10 machine
Based off the back of last weeks CyberGym training and the fact that there are TerraForm templates for this setup, I decided to give this a shot. The steps that I took for this particular setup are based on the setup instructions on this GitHub link.
Firstly a hurdle…. Vagrant has documented that you cant run Hyper-V and VirtualBox while running Vagrant cause you may blue screen yourself, and this was exactly what I was about to do, so I had a decision to make. Do I buy an ex-lease USFF PC (something like a Lenovo M93P Tiny which is a Gen4 Intel CPU), or do I just purchase a new M.2 Drive to dual boot with? The difference being around $500 for a new PC or $200 for the M.2 drive. I ended up with a new drive to build Ubuntu on, this way I can stand up the Detection Lab, have a play with linux and potentially detonate some malware in an isolated environment locally.
The next hurdle was actually getting Ubuntu on the secondary drive. My go to Ubuntu version is always the LTS, in this case 16.04 which didn’t boot. No worries, 18.04 is also LTS and its newer so in theory it should just work. Nope. I was able to successfully install the operating system but it wouldnt boot into the GUI without a Kernel update and various other bandaid fixes. I would have been totally lost without this link from AskUbuntu.com but now I have a functional system to use as a base.
Now that the spiel is over, on with the show.
Pre-requsites
Start with a clean base install of Ubuntu 18.04 LTS
Perform system updates and reboot
sudo apt-get update && sudo apt-get upgrade
sudo reboot now
Install VirtualBox 6
Note: when using ‘apt get’ VirtualBox 5 was installed which started throwing up errors when starting Virtual Box.
Install Vagrant
Note: when using ‘apt get’ and older incompatible version of Vagrant was installed which is why I installed the latest version available from the Vagrant website
You can confirm which version of Vagrant you are running by using
vagrant -v

# Output
Vagrant 2.2.3
Install Packer
sudo apt-get install packer
Install git
sudo apt-get install git
Clone Git repository
cd ~
git clone https://github.com/clong/DetectionLab.git
DetectionLab Build Process
Kick off the build process
cd ~/DetectionLab
./build.sh virtualbox
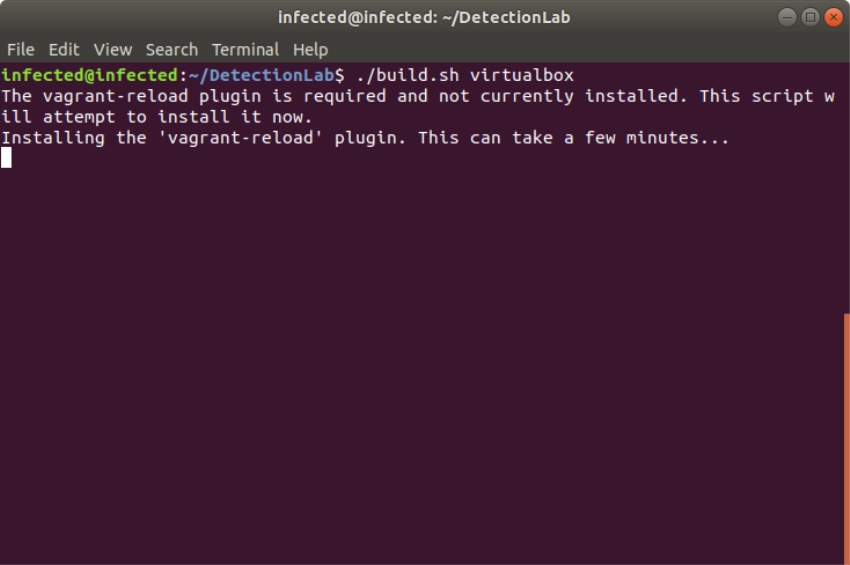
From here its a long waiting game while the EVAL ISO’s are downloaded and the entire environment is built and patched from scratch. I started the build off at 6:30pm and 3 hours later it had just built the first Windows Server box. I suspect that this is going to be an overnight build.
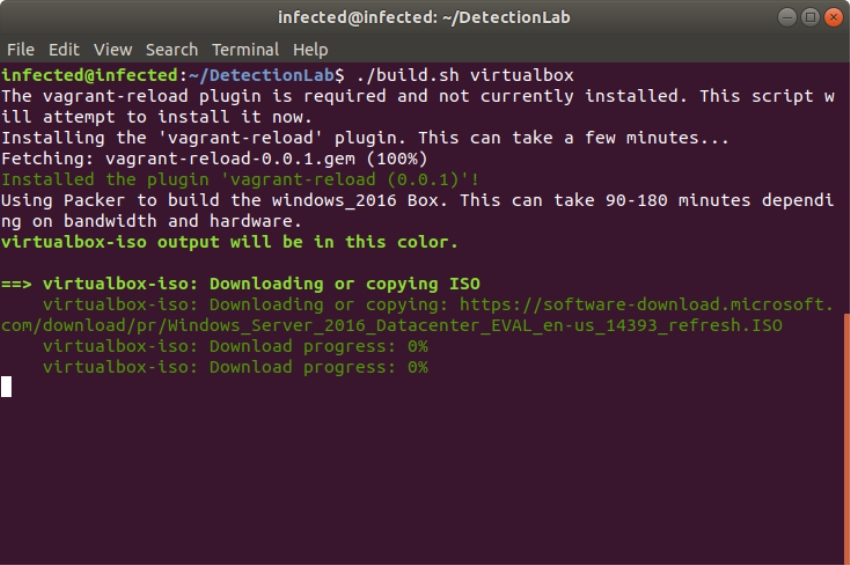
the fisrt ISO being downloaded after kick-off
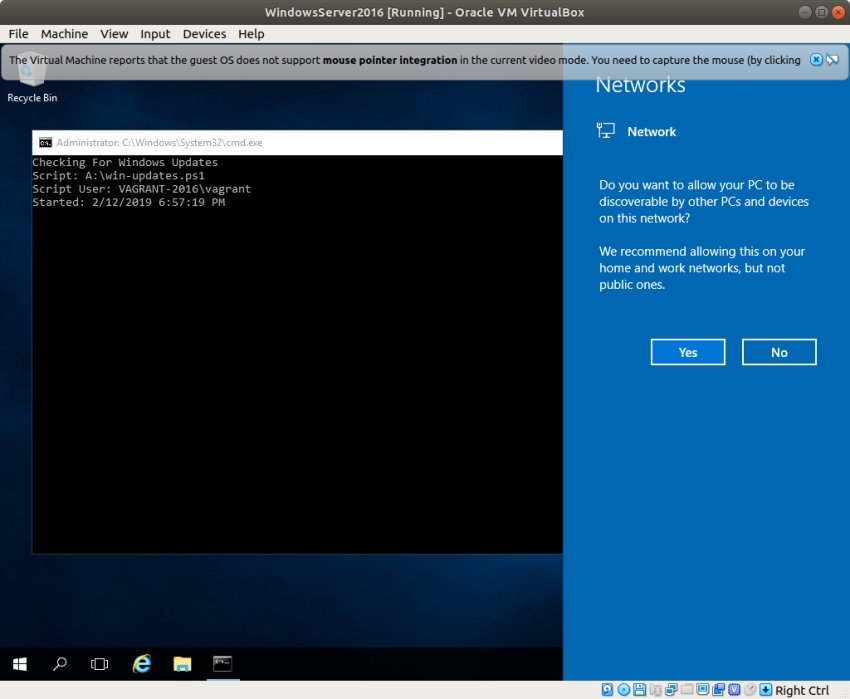
vagrant performing the in server build automation

more scripts being run post OS install. These perform the automatic update et al
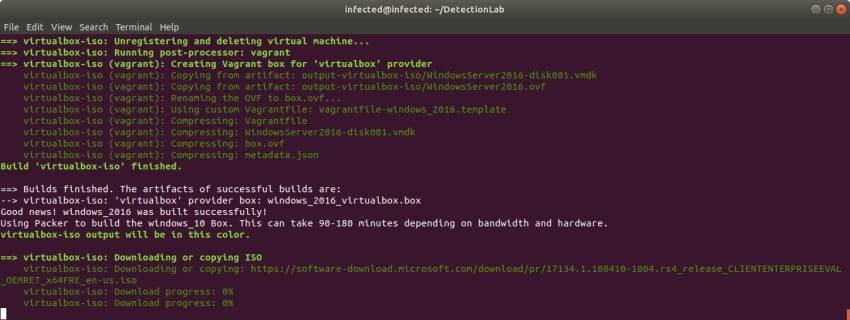 The first server has been fully built, cleaned and compressed ready for later use. The Windows 10 ISO is being downloaded and prepared
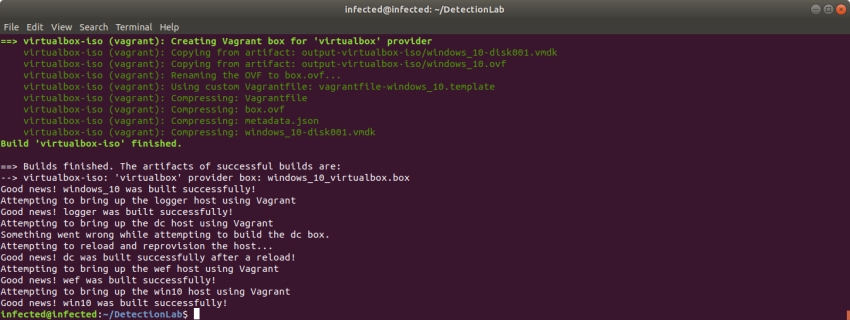 according to the timestamp on the logs the build finished at 12:05am. A total of 5 hrs and 35 mins.
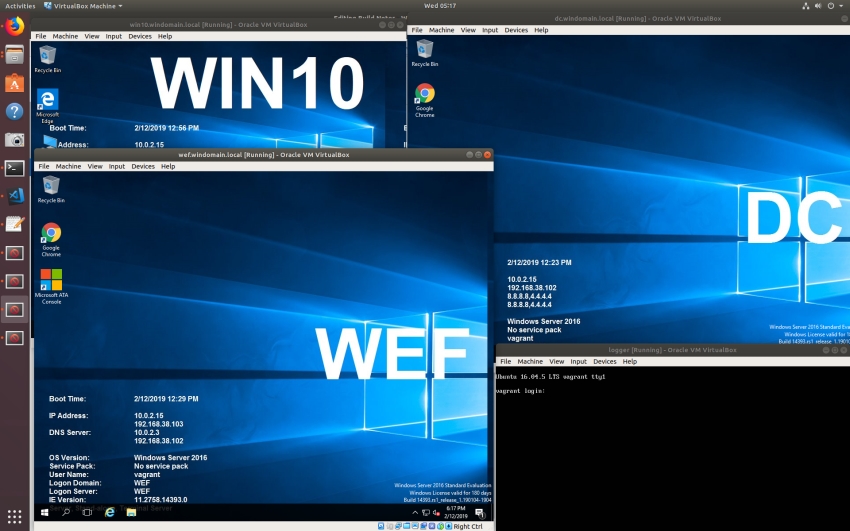 all hosts are started at the end of the build
Confirm lab is operational
From the /Vagrant folder run the following command
vagrant status

# Output
Current machine states:

logger                    running (virtualbox)
dc                        running (virtualbox)
wef                       running (virtualbox)
win10                     running (virtualbox)

This environment represents multiple VMs. The VMs are all listed
above with their current state. For more information about a specific
VM, run `vagrant status NAME`.
Now the fun part begins where I start compromising hosts and seeing the results. I also plan to move this lab into AWS using the supplied Terraform templates.