By Adrian | March 11, 2020
TheHive version 4 RC1, it’s here, its been here for a solid few weeks and I’m only just getting around to checking it out now. The new update looks to include a few nice features and a welcome back end technology refresh which should keep the platform in support for a good while yet.
At this stage, I would not suggest attempting to either upgrade your existing version 3 installations to version 4, or run a clean install as your main case management production system if you’re just starting out, but get to know this version by spinning up a new virtual machine because when the time comes around, you will give yourself a good leg up.
The installation process is quite straightforward based off the admin guide here. These were my steps for a single server Cassandra/LocalFS installation.
Base operating system
I have chosen to do the installation on Ubuntu Server 18.04.4 on a Virtual machine. This base OS has all the latest updates applied and a static IP. I have added a user named thehive. This can be done with sudo adduser thehive if you used another account with your base OS installation.
The installation of TheHive4 will be done with the elevated root account (sudo su)
Install Java Virtual Machine
apt-get install -qy openjdk-8-jre-headless
echo JAVA_HOME="/usr/lib/jvm/java-8-openjdk-amd64" >> /etc/environment
export JAVA_HOME="/usr/lib/jvm/java-8-openjdk-amd64"
Install Cassandra DB
Add Cassandra to apt sources
curl -fsSL https://www.apache.org/dist/cassandra/KEYS | sudo apt-key add -
echo "deb http://www.apache.org/dist/cassandra/debian 311x main" | sudo tee -a /etc/apt/sources.list.d/cassandra.sources.list
apt update
Install Cassandra
apt install -qy cassandra
Configure Cassandra with cqlsh
Open the cql shell by using the cqlsh command
Execute UPDATE system.local SET cluster_name = 'thp' where key='local'; to update the cluster name.
exit the shell afterwards.
root@thehive4:~# cqlsh

Connected to Test Cluster at 127.0.0.1:9042.
[cqlsh 5.0.1 | Cassandra 3.11.6 | CQL spec 3.4.4 | Native protocol v4]
Use HELP for help.
cqlsh> UPDATE system.local SET cluster_name = 'thp' where key='local';
cqlsh> exit
Run nodetool flush afterwards.
Update the cassandra.yml file
Create a backup of the existing cassandra.yaml file before making changes.
cd /etc/cassandra
cp cassandra.yaml cassandra.yaml.backup
Edit /etc/cassandra/cassandra.yaml. Based of what is already in the cassandra.yaml file, and the required configuration on TheHive GitHub installation page, we only need to make these changes here.
1) Change the cluster_name to thp
2) Uncomment out the hints_directory line and keep the supplied value
More information about Cassandra configuration can be found at https://docs.datastax.com/en/archived/cassandra/3.0/cassandra/configuration/configCassandra_yaml.html
Restart the Cassandra service
service cassandra restart
service cassandra status
Add attachment storage
For a more enterprise like clustered solution you would use Hadoop instead of the LocalFS option. For the purposes of this exercise, we will use LocalFS.
mkdir -p /opt/thp_data/files/thehive
chown -R thehive:thehive /opt/thp_data/files/thehive
Install TheHive4
Installation of TheHive4 package can be done by running the following commands. Note we are still using the elevated root user at this time.
curl https://raw.githubusercontent.com/TheHive-Project/TheHive/master/PGP-PUBLIC-KEY | sudo apt-key add -
echo 'deb https://deb.thehive-project.org beta main' | sudo tee -a /etc/apt/sources.list.d/thehive-project.list
apt-get update
apt-get install thehive4
Configure TheHive4
We need to update /etc/thehive/application.conf to include the cassandra and LocalFS configuration.
Create a backup of the existing application.conf file before making changes.
cd /etc/thehive
cp application.conf application.conf.backup
Edit the application.conf file and locate the block for db.janusgraph. Update the hostname line to localhost.
## Database configuration
db.janusgraph {
  storage {
    ## Cassandra configuration
    # More information at https://docs.janusgraph.org/basics/configuration-reference/#storagecql
    backend: cql
    hostname: ["localhost"]
    # Cassandra authentication (if configured)
    // username: "thehive"
    // password: "password"
    cql {
      cluster-name: thp
      keyspace: thehive
    }
  }
Next locate the block for storage and uncomment out the lines for provider and localfs.directory. Provide the appropriate path of LocalFS location.
storage {
  ## Local filesystem
  provider: localfs
  localfs.directory: /opt/thp_data/files/thehive
}
Start TheHive
Now is the moment of truth! It’s time to enable the service on boot and to start the service.
systemctl enable thehive
service thehive start
tail -f /var/log/thehive/application.log
The log file should show you the initial DB creation events.
TheHive4 is accessible via http on port 9000
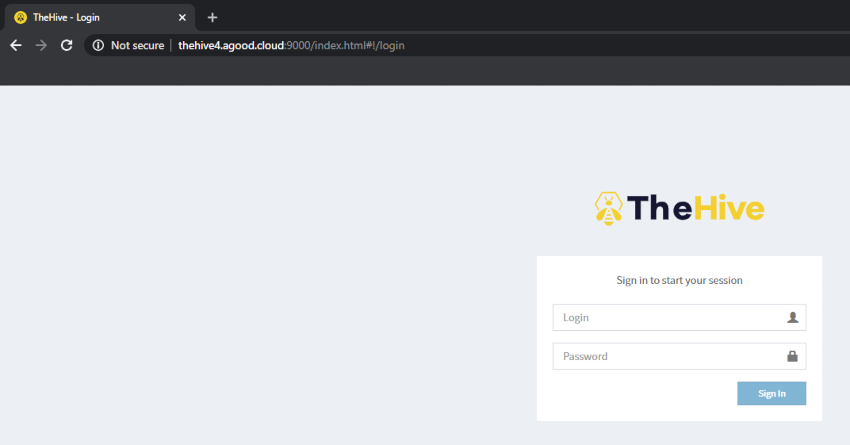
Initial configuration
The default username and password is admin@thehive.local / secret.
It is advised to change this password after you login by using Configure and then Edit Password
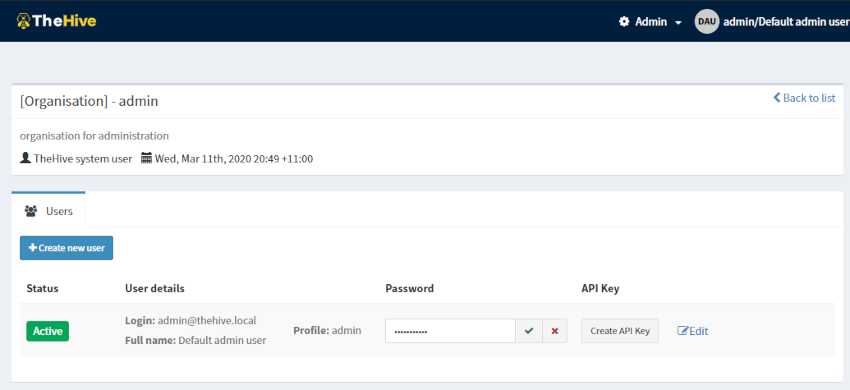
After changing your default orgAdmin password, create a new organisation (Yeah, were not using Americanized spelling).
Then go ahead and create an admin account in that new orginisation. Setup a password for that account.
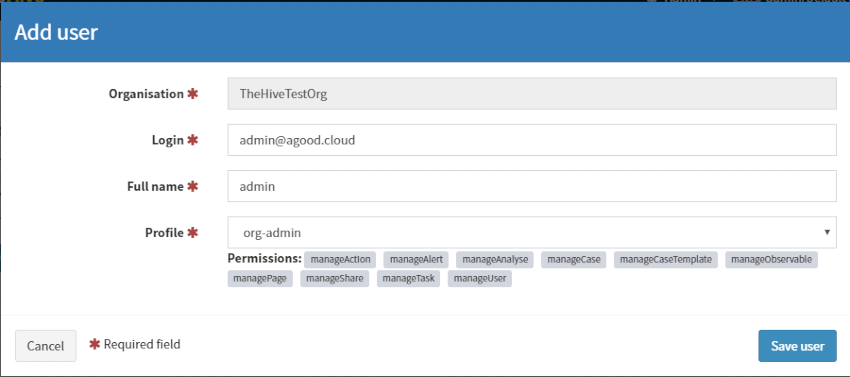
With the new Org and users created, the initial configuration is now complete.
Wrap Up
While from the outside, you still have the same familiar user experience, under the hood there have been substantial changes with the move away from ElasticSearch to Cassandra/Scalligraph and LocalFS. Whats even better is the fact that you can truly make this enterprise worthy by scaling out this system with Hadoop and Cassandra.
Changes around Multi Org tenancies and case sharing will make developing on the platform easier and allow you to lock away high sensitive cases behind a different org without having to stand up multiple servers.
I am looking forward to see what this update will bring, especially as version 4 progresses through its lifecycle into a stable release.
Stay tuned, I will be following this post up with adding a nginx reverse proxy with AWS Route53 and adding Cassandra internal authentication.