By Adrian | March 13, 2020
This post is a continuation of TheHive v4 RC1 in that I am providing the instructions to add Internal Authentication to Cassandra as well as a reverse proxy so we can connect back to TheHive with https.
Add Internal Authentication to Cassandra
It is recommended that you don’t allow access to the cqlsh unless there is some sort of authentication mechanism attached to it. There are too many horror stories of databases being dumped, and the internal authentication will make it that little bit harder to access from the cqlsh shell.
To enable this configuration, edit /etc/cassandra/cassandra.yaml and make the following changes.
1) Change the authenticator setting from AllowAllAuthenticator to PasswordAuthenticator
2) Change the authorizer setting from AllowAllAuthorizer to CassandraAuthorizer
Restart the Cassandra service
service cassandra restart
Now when you try to access cqlsh you should see the following error
Connection error: ('Unable to connect to any servers', {'127.0.0.1': error(111, "Tried connecting to [('127.0.0.1', 9042)]. Last error: Connection refused")})
Update the default Cassandra password
Default passwords are never good. NEVER! especially when they are documented and/or easily guessable. That being said, guess what we have now? thats right, a default username and password to access Cassandra!
To access cqlsh now, you need to provide a username (and optionally a password). This can be done by using cqlsh -u cassandra -p cassandra. If you omit the -p cassandra you will be prompted to enter the password.
root@thehive4:/etc/cassandra# cqlsh -u cassandra
Password:
Connected to thp at 127.0.0.1:9042.
[cqlsh 5.0.1 | Cassandra 3.11.6 | CQL spec 3.4.4 | Native protocol v4]
Use HELP for help.
cassandra@cqlsh>
To change the default password use the following command in cqlsh.
ALTER USER cassandra WITH PASSWORD 'YOUR_NEW_PASSWORD_HERE';
While we are here, lets setup a user named thehive with the password of thehive1234 and grant it all permissions to the required keyspace. Onec again, set your own passwords.
CREATE ROLE thehive WITH PASSWORD = 'thehive1234' AND LOGIN = true;
GRANT ALL PERMISSIONS ON KEYSPACE thehive TO thehive;
Update TheHive configuration
If you try and login to TheHive now your going to get Authentication Failed errors. We need to make a change to /etc/thehive/applciation.conf to fix that.
Locate the comment # Cassandra authentication (if configured) and uncomment out the username/password lines and fill in the details you just specified.
Restart TheHive service to make the change active.
service thehive restart
Adding an nginx reverse proxy to TheHive
I was having a few issues with python/pip/aws-route53 and certbot dependencies. Turns out there is a later version of certbot that isn’t available from the distro’s repository, so the steps I had used in the past now no longer work. No big deal, just need to get the latest version of certbot.
Install Pre-Reqs
So that we can generate our certificate using LetsEncrypt, we need to install a few items.
# Install certbot via snap
sudo snap install certbot --edge --classic

# Install Python3 pip
apt-get install -qy python3-pip

# Add in the route53 extension to certbot.
pip3 install certbot-dns-route53
Now we need to get the awscli package and configure it. Ensure that you have configured the programatic access for the account you plan to use. This account will require API access to Route53.
# Get the awscli package
apt-get install -qy awscli

# You can configure the aws Access Key and Secret Access key with this command.  You will need to create an account in AWS with the correct permissions
aws configure
Generate the certificate
sudo certbot certonly –dns-route53 -d ‘thehive4.example.com’ –server https://acme-v02.api.letsencrypt.org/directory -m youremail@example.com –non-interactive –agree-tos
All going well you should have the .pem files saved out to /etc/letsencrypt/live/thehive.example.com/fullchain.pem
Install and configure nginx
If nginx is not already installed you can use this command to install it.
apt-get install -qy nginx
Start and enable on boot the nginx service.
sudo systemctl start nginx
sudo systemctl enable nginx
Create /etc/nginx/sites-enabled/thehive.conf with the following config. Ensure you update the server_name, ssl_certificate and ssl_certificate_key with your own values
server {
       listen         80;
       server_name    thehive4.example.com;
       return         301 https://$server_name$request_uri;
}

server {
  listen 443 ssl;
  server_name thehive4.example.com;

  ssl on;
  ssl_certificate       /etc/letsencrypt/live/thehive4.example.com/cert.pem;
  ssl_certificate_key   /etc/letsencrypt/live/thehive4.example.com/privkey.pem;

  proxy_connect_timeout   600;
  proxy_send_timeout      600;
  proxy_read_timeout      600;
  send_timeout            600;
  client_max_body_size    2G;
  proxy_buffering off;
  client_header_buffer_size 8k;

  location / {
    add_header              Strict-Transport-Security "max-age=31536000; includeSubDomains";
    proxy_pass              http://127.0.0.1:9000/;
    proxy_http_version      1.1;
  }
}
Confirm that the nginx config is ok
sudo nginx -t
Reload the nginx config with this command
sudo nginx -s reload
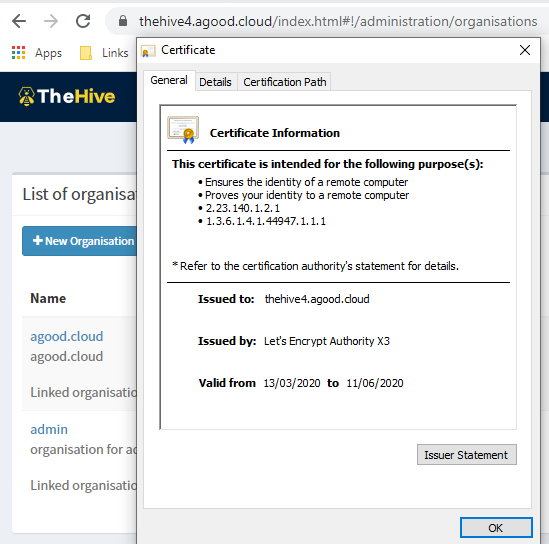
Test that you can access your instance of TheHive via https now. Even if you navigate using straight http you will be redirected to https.
So we don’t have to keep renewing the certificate every 3 months, setup the following entry in the crontab. This should autorenew every 2 months on the 1st day of the month, but is untested. Ill revist this in a few months if the renewal wasn’t successful.
0 0 1 */2 * certbot renew --post-hook "systemctl reload nginx"
Wrap up
At this time, we have now added authentication to the Cassandra database and added a reverse proxy using nginx so that we can get to TheHive via https using LetsEncrypt.